Friday 5 November 2021

J Wildfire Fractals

After many years of working on my MacBook Pro I decided to upgrade. Don't laugh but my upgrade is to a 2013 iMac! Crazy! But not for me, I wanted a high spec old Mac with a NVIDIA graphics card especially for rendering my fractals. That is the only year they did NVIDIA and then fell out with the company.

To say I am totally addicted to the new version for Mac is an understatement. I have been so busy creating loads of lovely fractals and uploading them (in half the time) that I'm just going to show a few. I really should post as I do them but I just get so engrossed. I think I have recently done almost 100 and these are the ones that make it. I'm quite critical and if it's not a good render it doesn't go on.

I spend hours using this program and although not to everyone's taste I do these just for me and what I like. There is a freedom and escape in fractals that keeps me sane.

Did I mention they are also HUGE. Most are around 83" x 66"! Okay here's a couple of little ones and a cute one that won't make my list but I thought was quite sweet.

Green Fairy ©mforrester
White Moon ©mforrester

Ghostly Balloons :D

Nightmare Before Christmas Themed Doll's House

Earlier in the year I completed a lovely project as a birthday present for my granddaughter. I totally loved every minute of it but have to say it took loads of time. It was worth it though. Here are some of the progress pictures and also the finished result.

All the little wooden furniture painted white

My partner bought a plain wooden doll's house so the first part was to paint everything white, including all the wooden furniture. I used white acrylic paint to put down a good base coat.

I tackled the project by painting all the fiddly furniture first. My inspiration was from Sally's dress. This was going to be a bit different from the usual gothic style. I wanted it a bit more modern and illustrative.

It was a case of painting tops, bottoms and sides. I used glittery paint and some pen also and then each piece was varnished. 

I really love the telly and pinched and re-sized a small Frankenweenie image. As this is not for re-sale I'm sure they won't mind 😉

The start of painting all the little furniture.

Anyway, I'm just going to post all the pictures I took along the way. There is glitter paint in there too and metallic paints.

The inside of the house was lined with cushion covers and I really got into a bit of a mess with the glue. Spray glue did not work and left a bit of staining. In the end I found some carpet glue in the shed and that worked well. I lined the edges with ribbon. The coffin bath even has little taps that my partner put in. He also bought little twinkly lights and put them into some of the furniture for a finishing touch. Enjoy!


Dining Room and Kitchen
Bathroom

Bathroom with Outside of Bath

Cute bedroom


I even painted under the stairs

Rough drawings first

Front of house with Pumpkins

Even the back got a design

Something a little special

The back finished

The sides finished

Even the inside of the doors painted

Painted trees not pen!

Drying the panels in the sun

All the outside bits and pieces

The inside finished

Cake topper characters

Outside finished

Little finishing details

Inside with glitter floors

Spider theme throughout


Saturday 23 May 2020

Rock Painting and Resin Part Two

A second coat worked out well so I now have lots of lovely rocks. A couple are reserved, one is a present, some will go to Tregaron as part of the Ceredigion Rock Project and then I will post a few on Etsy for sale. I will update with links when I've listed them.

In the meantime, here are some lovely pictures of the finished rocks. I'm sorry that some of them are sideways, I can't seem to rotate them. Never mind. The big question is whether I will continue to use Resin. I am going to have a last attempt when I get some lovely flat beach pebbles and then decide.


Rocks drying in plastic storage box
Selection of Hare Rocks
Smiley Candy Skull Rocks
Goddess and Horned God

Fairy Houses

Moon Moths

Mandrakes

Elements and Sun & Moon

Earth Sisters

Decorative Hearts

Pumpkin and Grinning Cat

Hare and Moon

Rocks for Tregaron

Hare and Moon Phases

Crow and Moon Phases
Close up of Hare Rock

Thursday 14 May 2020

Rock Painting and Resin Part 1

The coronavirus lockdown has resulted in many people being really creative and I've seen some beautiful painted rocks on the internet. Ceredigion in West Wales is running a lovely project called Ceredigion Rocks, where people find rocks in various places throughout Ceredigion and then re-hide them so that others can enjoy them too. This was the start of a new project for me, but instead of varnishing them I wanted to seal them with resin so that they are super shiny and will last longer.

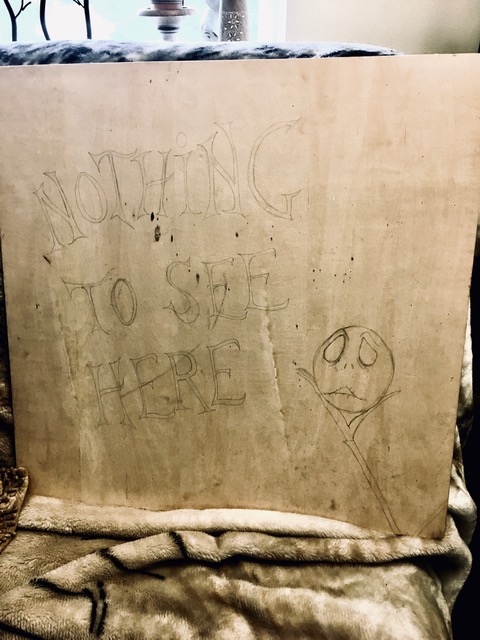
Rocks from my garden with designs pencilled on
I drew up some rough designs on paper and then prepared my rocks by washing them, letting them dry naturally and then painting a big white circle on most of them.  I used a compass for the circles. For the odd shaped ones I followed the shape of the rock and tried to keep the edge neat. Then I pencilled on my designs to fit the rock and circles. Some of my rocks were quite rough so this was a bit of a challenge in itself.

Some of my designs
The start of outlining and
painting my rocks


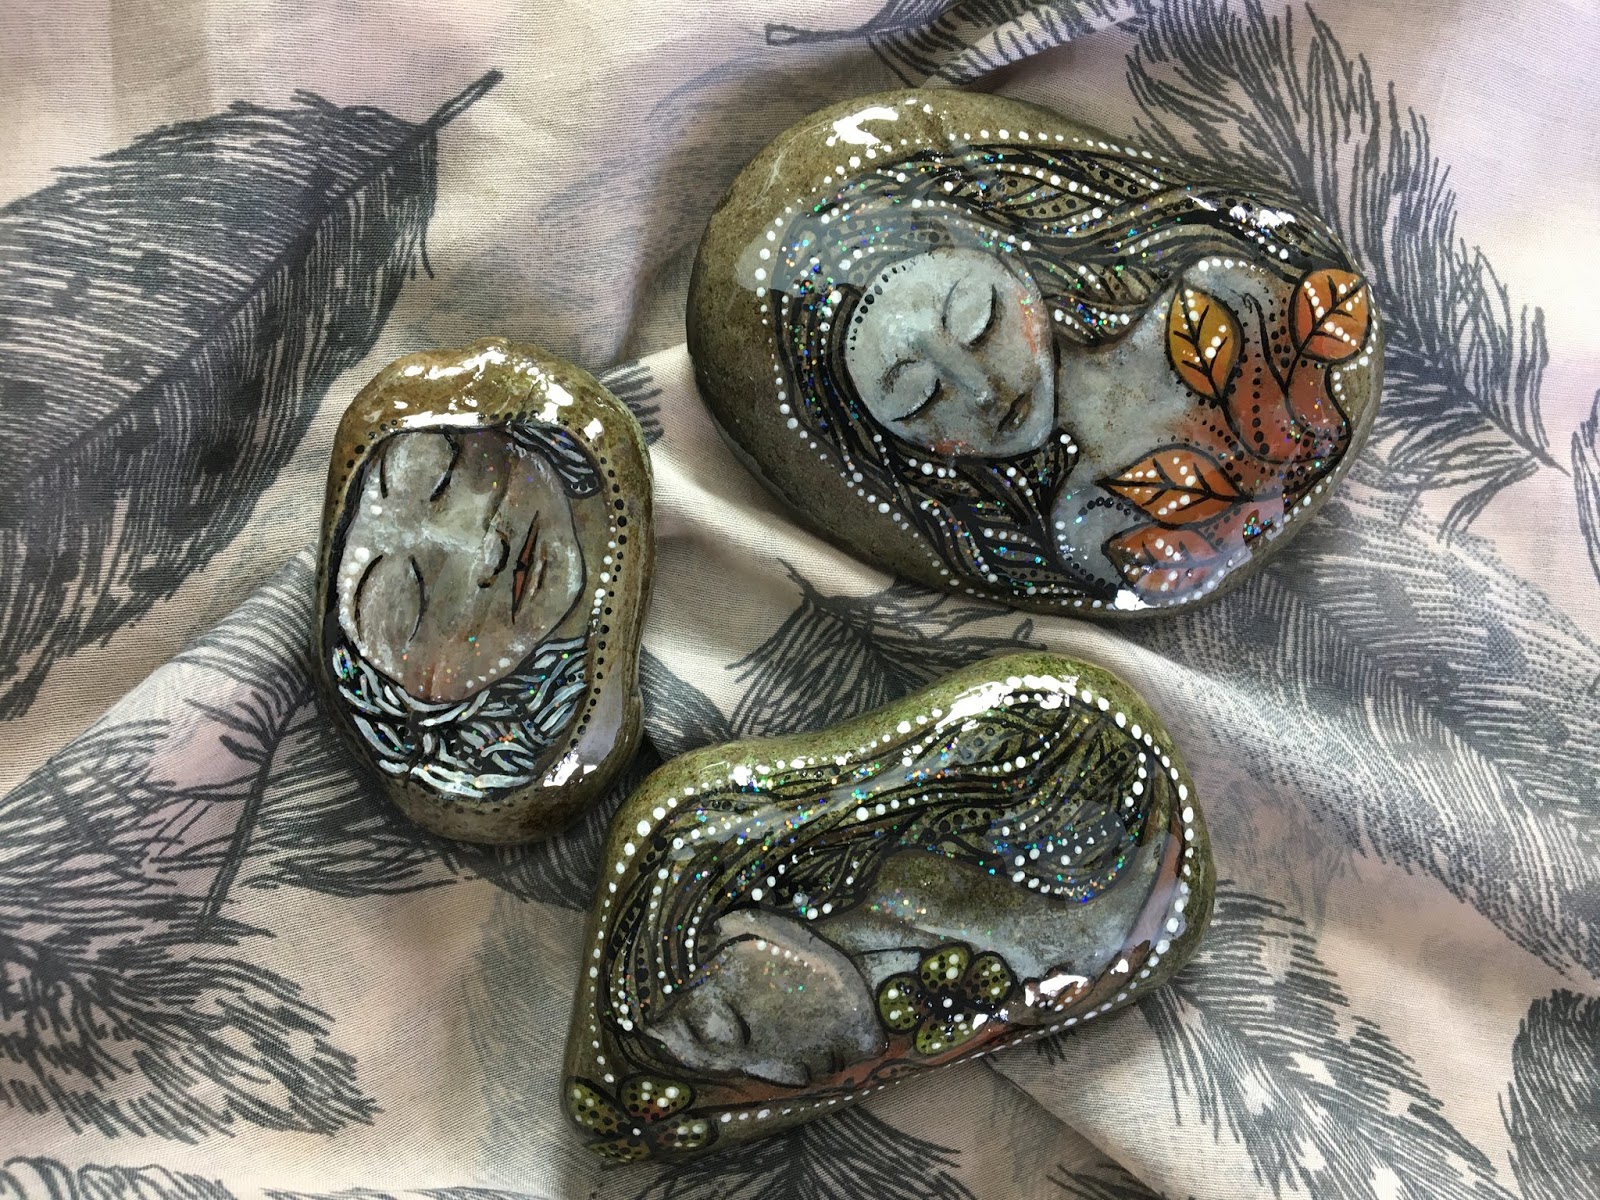
Glitter added to some rocks

The next stage was outlining all of my designs and then painting them.

This is quite difficult on some of the rougher rocks. I then painted each rock using acrylic paints while I waited for some metallic and glitter acrylic paints to arrive. This wasn't a quick job and took me a full week to do.

After painting all the rocks I added some metallic paints to some of them and also the acrylic glitter paint. They look really pretty at this stage. I finished each rock by tidying up any line work and adding some more details to some of them.
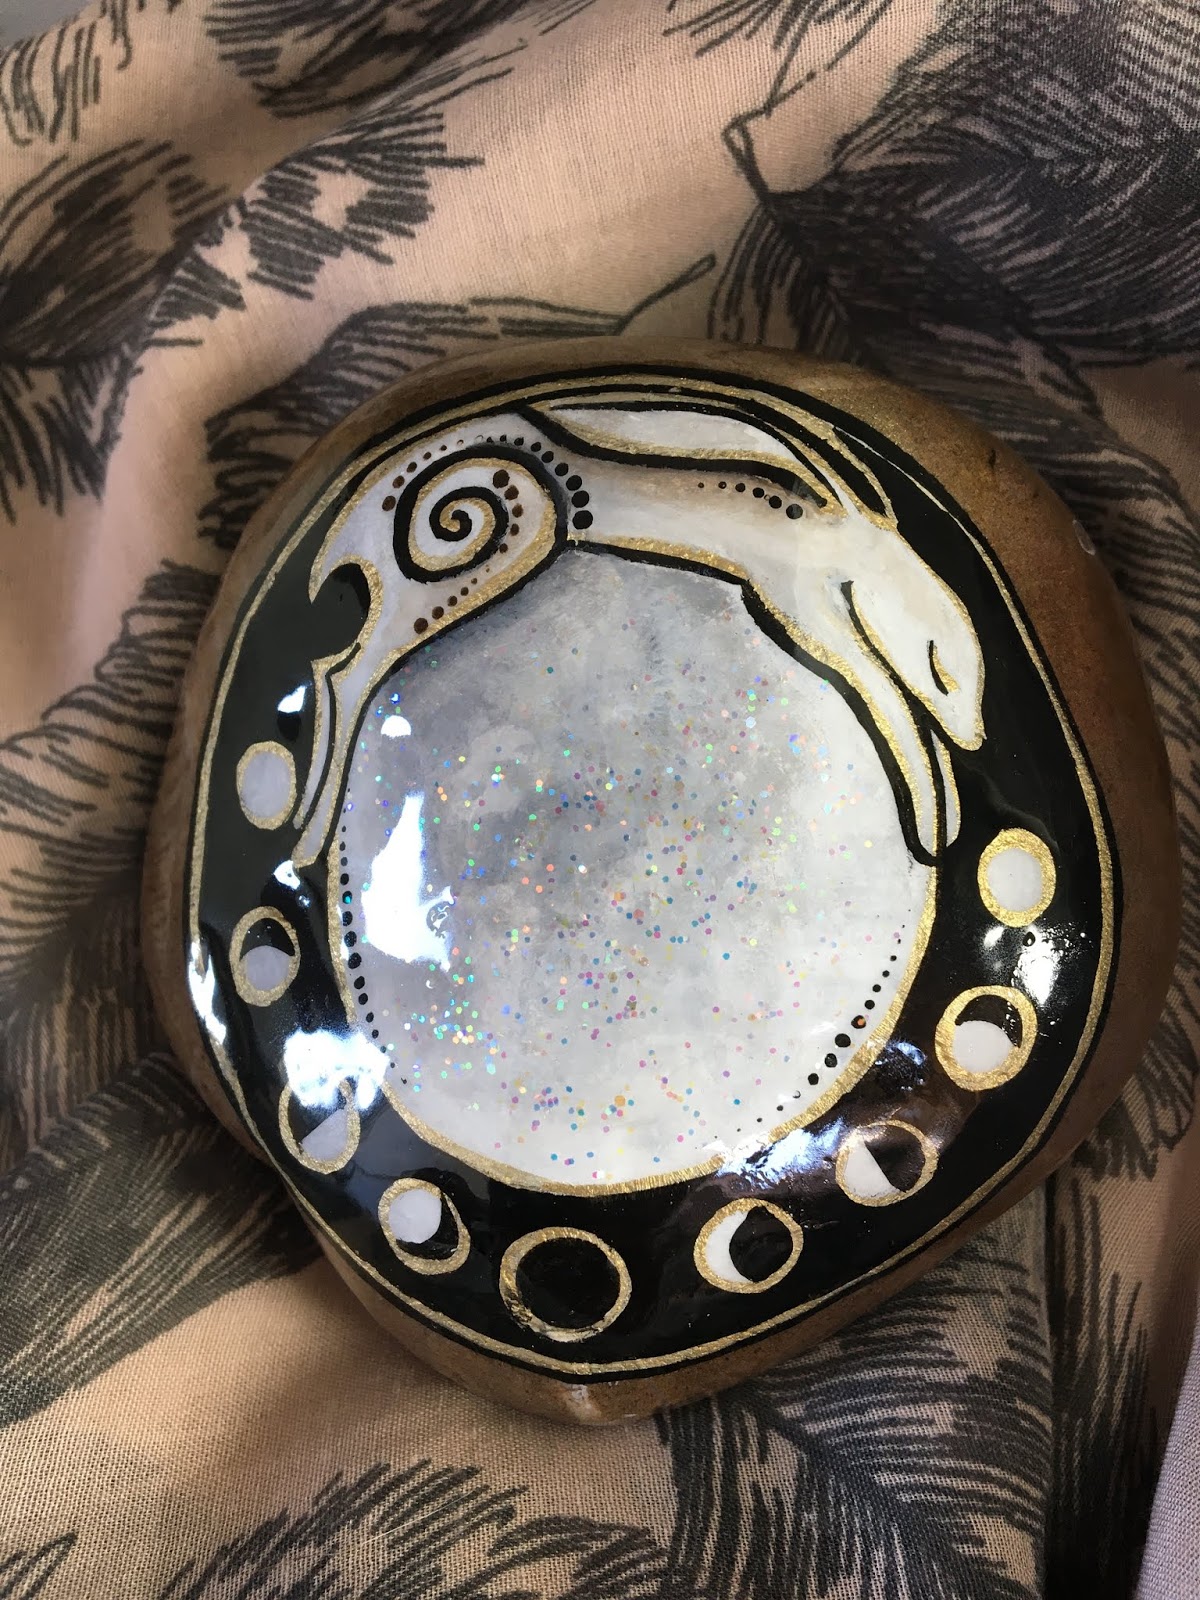
Stones with Resin
Now for the resin. I have never used resin before so made it up as best I could with a little china measuring spoon. Luckily the resin is a ratio of 1:1 (resin and hardener) but it is still not the most accurate way. I will probably get scales at a later date. I just followed the instructions of mixing it for 3 to 5 minutes with the end of an old paintbrush and then let it stand for 10 minutes. Gloves are a must for spreading on the resin, it is really thick and sticky and you don't need much. I only made up a teaspoon for the first batch and then a tablespoon for the rest. I smothered both sides with my hands making sure not to have too much on the bottoms. After this you are supposed to blow through a straw to remove any bubbles or use a blow torch. I opted for the straw method even though I couldn't see any air bubbles. I let them dry on my plastic cutting mats inside an underbed storage box so that no dust or anything could get to them. They are dry from 12 to 24 hours and are hard after 72 hours.

Tiny beach pebble that I used some leftover
resin on. Notice the little resin shelf.
This is the underside.
So I thought that would be it. Nothing is that easy or straight forward. When I removed them from the mat some had a little shelf of resin and some were a little rough where the resin had settled. Of course this wasn't just in the centre as I had chosen wonky rocks. The only way to remove the shelf or little resin spots was to sand them down with a dremel or file. So now I had little white patches on the bottom. Also after looking at the finish I noticed that some of them had little tiny pinpricks in them. After some research I learnt that this is very common and is either a reaction to oil or paint. Great! So to resolve this you need to sand them down and resin again. So this is the stage I am at now with both the tops and bottoms needing a second coat. If you have to do this be careful you don't rub down too hard or your paint will come off and also use a very fine sandpaper. Seriously, give me a break! I'm attaching 3 links at the bottom which are really helpful if you run into problems and don't know what the cause is.

I will post another blog on how they turned out but for now here are the links I mentioned:
Fixing Surface Imperfections in Resin/Common Problems
Fixing Pits in Resin
Resin Flaws